Mounting surface
Installers must identify wood framing, metal, masonry, tile, drywall, or other substrates and choose compatible fasteners.
Bracket placement
Brackets must avoid moving components, support the load, keep tubes or rails level, and follow manufacturer spacing.
Operation and safety
Cordless handles, tension devices, wands, continuous loops, remotes, and limits should be set up and demonstrated.
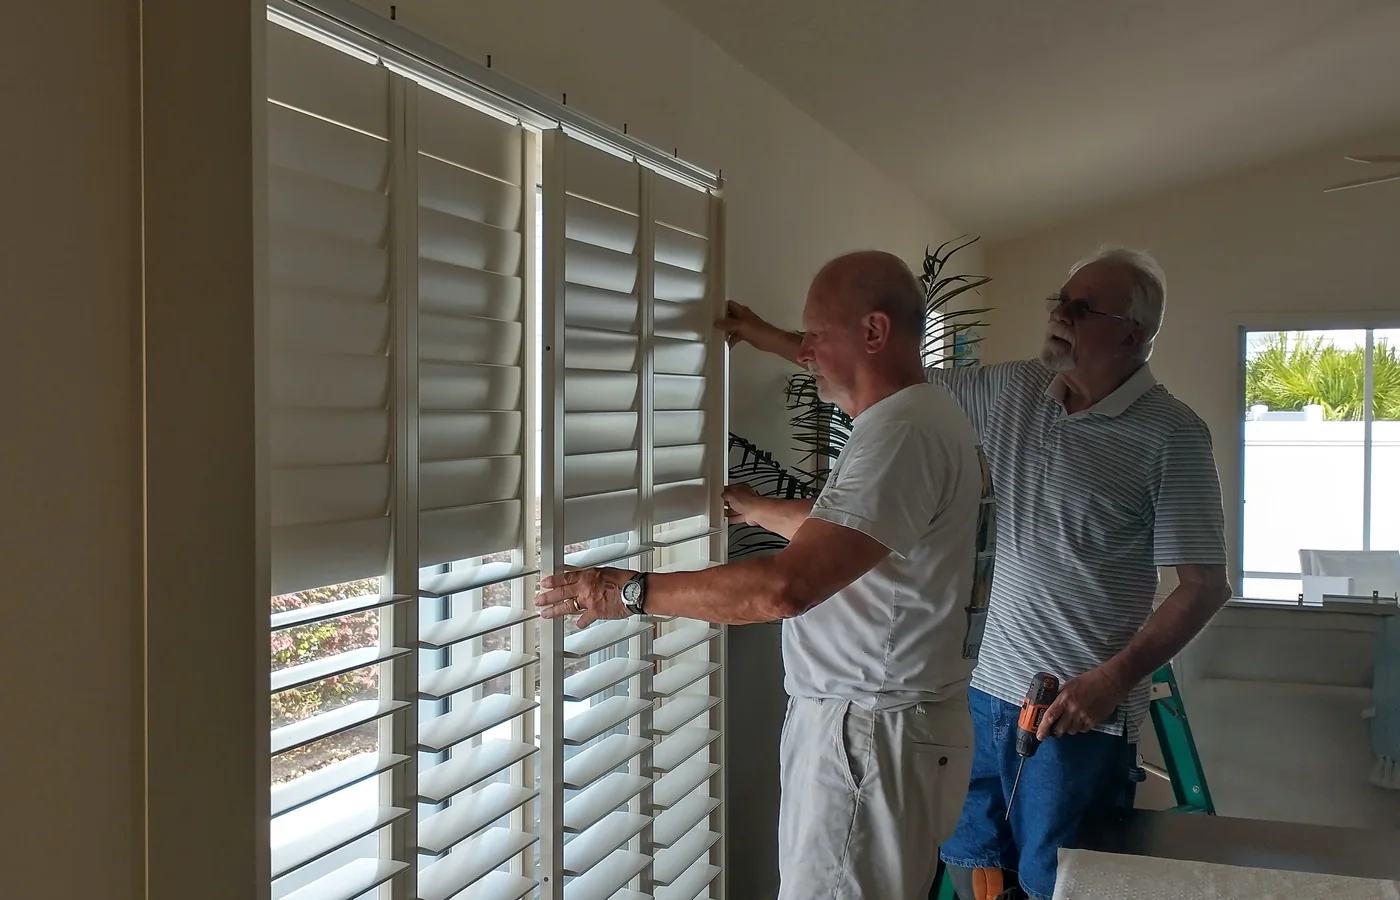
Final inspection
The installer should test full travel, slat tilt, fabric tracking, door clearance, light gaps, and appearance from inside and outside.
Professional checklist
- Confirm products and room labels before drilling
- Protect floors and furniture
- Use proper fasteners
- Level rails and tubes
- Install required safety devices
- Test and document every treatment
Common questions
Can blinds be installed into drywall alone?
Some small products may use rated anchors, but framing or a stronger substrate is preferred when load requires it.
Why does a roller shade track to one side?
Bracket level, tube alignment, fabric attachment, or obstruction may be involved.
Should packaging be removed?
The customer and installer should agree on cleanup, packaging, spare parts, and manuals.